

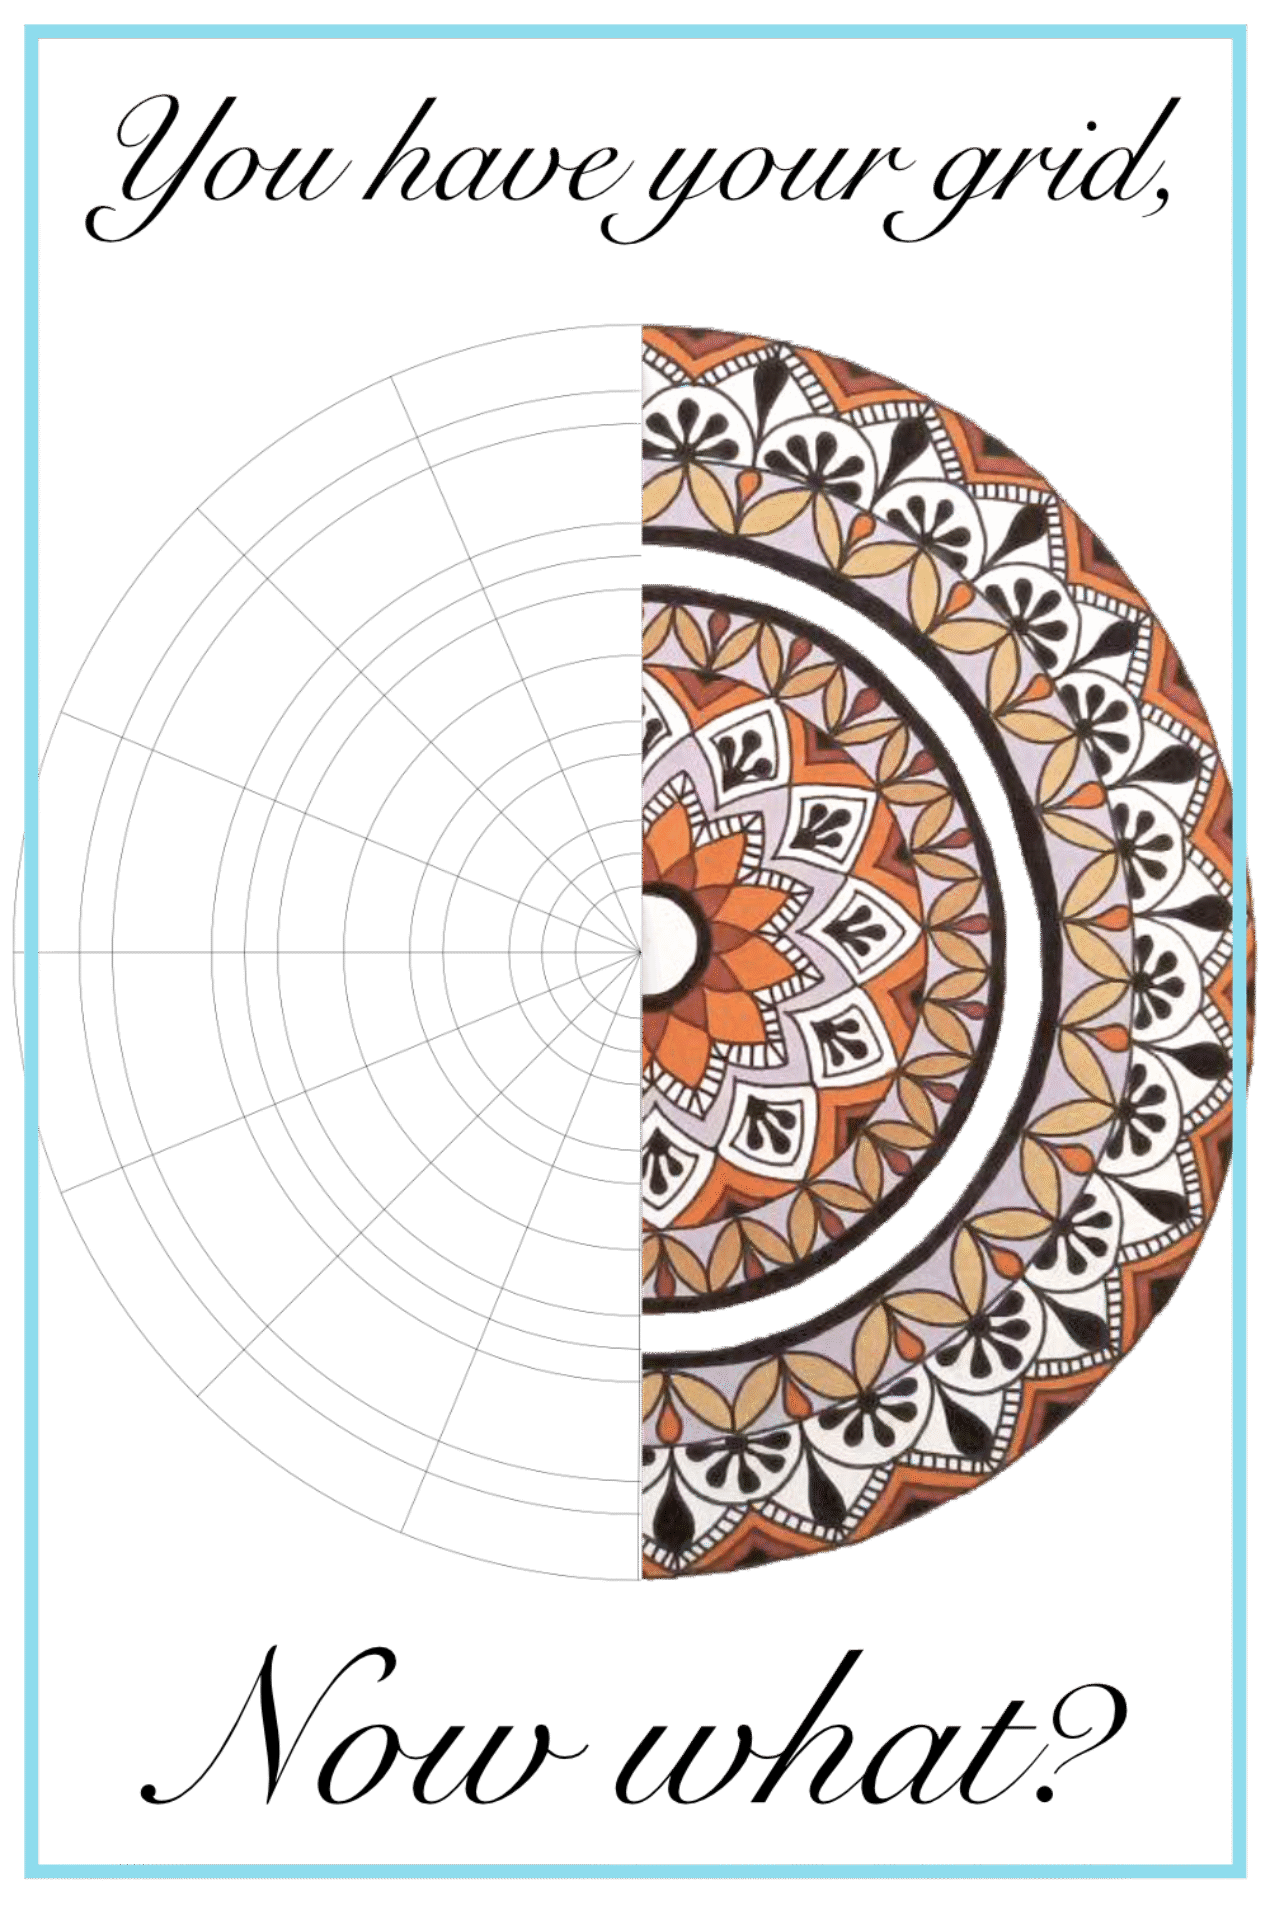
Haw can you draw a Mandala? Once you have your grid, the fun starts! But If you don’t know how to draw a grid (or you want a ready made one) check these posts: Flower of Life Grid and Mandala Grid.
How to organise your work.
There are actually two different ways of going by for that. You can either start drawing the heart (center) of the mandala and work towards the outer circle. Or, you can draw a complete wedge to get an idea of what it’ll look like. Then, you draw the rest of the mandala. Identical to the first one.
Both methods are great, it is more a question of your preferences. What do you like most, what makes you feel comfortable…
In my instance, I go from the center to the edges. I like not having a real idea where the mandala will “go”.
I do have a “theme” or idea to start with. For example, it can be a “philosophical” idea (the concept of love and/or interconnectedness…), or an aesthetic idea (working with more geometrical lines and shapes vs. a more organic design). I do like to simply improvise sometimes, see where my hand and inspiration will take me.
Again, there is no wrong way to getting started. I just want to give you some guidelines to help you give those first steps. A theme can help you organise your “thoughts” and focus in one particular style…
I feel there must be some wonder when drawing a mandala, not everything is under our control.
Materials.
-pencil
-fineliner (ink marker)
-eraser
Notes on materials.
I like using a hard pencil. I usually use an F. Make the line is quite light so you can easily erase it at the end. So depending on how much pressure you put, use a pencil between an F and a B.
For the ink marker, I use a 04 for the lines and a 08 to fill in the shapes.
How to.
Start drawing with the pencil. It’s the perfect way to investigate shapes and try out ideas. You don’t need to worry for the lines to be perfect. You will later draw it with the fineliner.
Once you’re happy with the result, go on and start going over the lines with the 04 ink marker.
When you’re done, you’ll start with the colour. Either you keep it black and white. Or you can put some colours too (there are some coloured ink markers). Again, no right or wrong way, it’s up to your taste and style.
Lastly, your mandala is done! Erase (be careful and light handed) the pencil and make your last corrections if needed (you may need to go over with your fineliner).
Done!
Remember, it is handmade. It won’t be perfect and that’s part of the charm! Be focused but relax. Don’t get discouraged if you make a mistake, normally you won’t even see it once the whole mandala is done! It’s about the process and the pleasure you take drawing it.
And as my grand mother used to say (for cooking) “Don’t tell anybody what you’re doing. So if it ends horrible, just throw it and start again. No one will know.”
It was the best advice ever, it took the pressure off and I learned how to cook that way! 😉
I hope this post has been helpful. If it has, please like it and share it so others can enjoy and learn how to draw a mandala. Need some extra help? Don’t hesitate to get in touch (either through the comments below or via the contact form). I’d love to help.